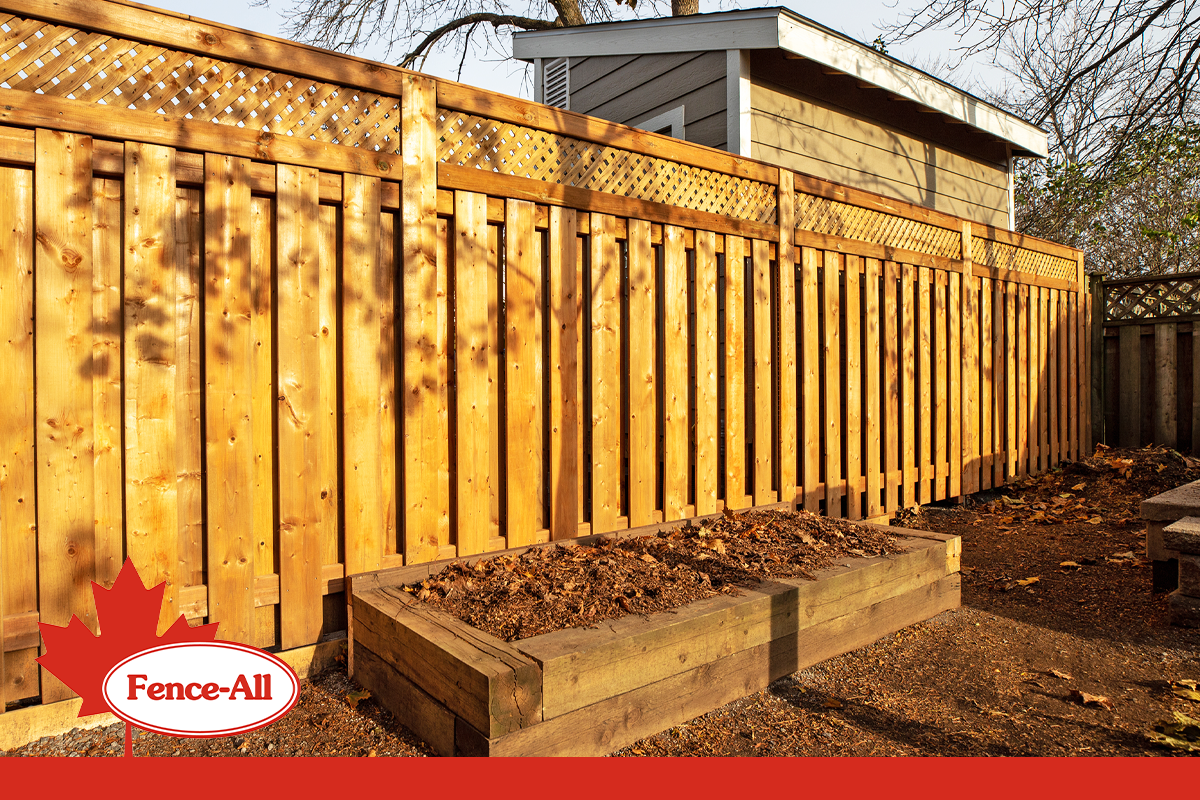
A wood fence adds natural warmth and character to your backyard, but exposure to sun, rain, snow, and changing temperatures eventually takes a toll. Staining helps protect the wood from moisture and UV exposure while refreshing its colour and preserving the natural grain.
For homeowners in Ottawa and Gatineau, late summer and early fall can be a good opportunity to tackle fence maintenance before winter, provided the weather conditions are right.
If your wood fence is ready for a refresh, here’s how to stain it properly and what to consider before getting started.
Why Stain a Wood Fence?
Exterior wood is constantly exposed to the elements. Over time, moisture, sunlight, and seasonal weather can contribute to fading, discolouration, cracking, and deterioration.
A quality exterior fence stain can help:
- Protect wood from moisture.
- Reduce the effects of UV exposure.
- Refresh faded or weathered colour.
- Highlight the natural wood grain.
- Extend the useful life of your fence.
Stain isn’t a substitute for repairing damaged boards or posts, but it can be an important part of maintaining a wood fence that’s still structurally sound.
When Should You Stain Your Fence?
The best time to stain a fence is during a stretch of mild, dry weather.
Fall can provide those conditions, but don’t rely on the calendar alone. Temperature, humidity, rain, and the moisture content of the wood all affect how well the stain penetrates and dries.
Product requirements also vary significantly. Some exterior stains can be applied at relatively low temperatures, while others require warmer conditions and longer dry periods. Always check the manufacturer’s instructions for your specific stain before starting.
If rain is approaching or temperatures are expected to drop outside the recommended range before the stain has cured, wait for a better window.
What You’ll Need
Before starting, gather the appropriate supplies for your fence and the stain you’ve selected. Depending on the project, that may include:
- Exterior wood stain suitable for fences.
- Wood cleaner.
- Sandpaper or a sander.
- Brush, roller, or approved sprayer.
- Drop cloths or protective coverings.
- Gloves and appropriate safety equipment.
- Stir sticks and application trays.
Follow the stain manufacturer’s recommendations for application equipment, preparation, coverage, and cleanup.
How to Stain a Fence Step by Step
1. Inspect the Fence
Start by checking the condition of the entire fence.
Look for loose or damaged boards, unstable posts, protruding fasteners, rot, or other problems that should be addressed before staining. There’s little value in applying a fresh finish over a section that already needs repair.
2. Clean the Wood
Proper preparation is one of the most important parts of staining a fence.
Remove dirt, mildew, debris, and any loose existing finish so the stain can properly penetrate or adhere to the wood. Exterior wood cleaners can help prepare weathered surfaces, but follow the directions carefully and allow the fence to dry as required before proceeding. Proper surface preparation is critical to successful stain application.
3. Sand Where Necessary
You don’t necessarily need to sand every inch of an older fence, but rough areas, splinters, peeling finishes, and uneven surfaces may need attention.
Sand these areas as required and remove the resulting dust before staining.
4. Test Your Fence Stain
Never assume the colour on the container will look exactly the same on your fence.
Wood species, age, previous finishes, and weather exposure can all affect the final appearance. Test the stain on a small, inconspicuous area and allow it to dry before committing to the entire fence.
5. Apply the Stain
Stir the stain thoroughly and apply it using the method recommended by the manufacturer. Work systematically across manageable sections, maintaining an even application and watching for drips, pooling, or missed areas.
Pay attention to board edges, corners, and areas around posts where coverage can be easy to overlook.
Depending on the product, excess stain may need to be wiped away and additional coats may be required. Follow the instructions on the container rather than assuming every stain behaves the same way.
6. Let the Fence Dry and Cure
Once you’ve finished staining, give the fence the time it needs.
Drying and curing requirements vary considerably between products and weather conditions. Avoid exposing the freshly stained surface to water or unnecessary contact until the manufacturer says it’s ready.
This is another reason checking the forecast before starting is so important.
Choosing the Right Fence Stain
Fence stains aren’t one-size-fits-all. Exterior wood stains range from transparent and semi-transparent finishes that showcase more of the wood grain to solid stains that provide greater colour coverage.
For newer or attractive wood where you want the grain to remain prominent, a transparent or semi-transparent stain may be appealing. A more opaque finish can provide a different look and greater colour coverage on an older fence.
The best option depends on the wood, its current condition, the existing finish, and the appearance you want to achieve.
For more information about stain types and preparing exterior wood, Home Depot Canada’s exterior wood stain guide provides a useful overview.
Don’t Wait Until Your Fence Needs More Than Stain
Staining is preventative maintenance, not structural repair.
If you discover significant rot, broken boards, loose sections, or unstable posts while preparing your fence, deal with those issues first. Catching problems early can prevent a relatively minor issue from becoming a larger one.
If the fence has reached the point where repeated repairs and maintenance no longer make sense, it may also be worth comparing the cost and benefits of replacement.
Give Your Wood Fence a Strong Start
Maintenance begins with choosing a fence that’s well suited to your property in the first place.
At Fence-All, we offer wood fencing in cedar and pressure-treated options, along with a variety of styles and finishing choices to help homeowners create a fence that complements their outdoor space.
Whether you’re maintaining an existing fence or considering a new one, understanding how wood responds to Ottawa and Gatineau’s changing seasons can help you protect your investment for years to come.
Thinking about replacing an aging wood fence? Explore our wood fencing options or contact us for a free, no-obligation estimate and we’ll help you find the right solution for your property.